目次
はじめに
みなさん、こんにちは。
Oracle Cloud Infrastructure検証チームです。
前回に引き続き、OCI CLI(コマンドライン)による、Autonomous Databaseの起動停止をご紹介していきたいと思います。
引き続き後編の記事をお届けします🤗宜しくお願いします!

OCI CLI(コマンドライン)による、Autonomous Database起動停止の流れ
前回に引き続き、下記の流れで説明を行います。
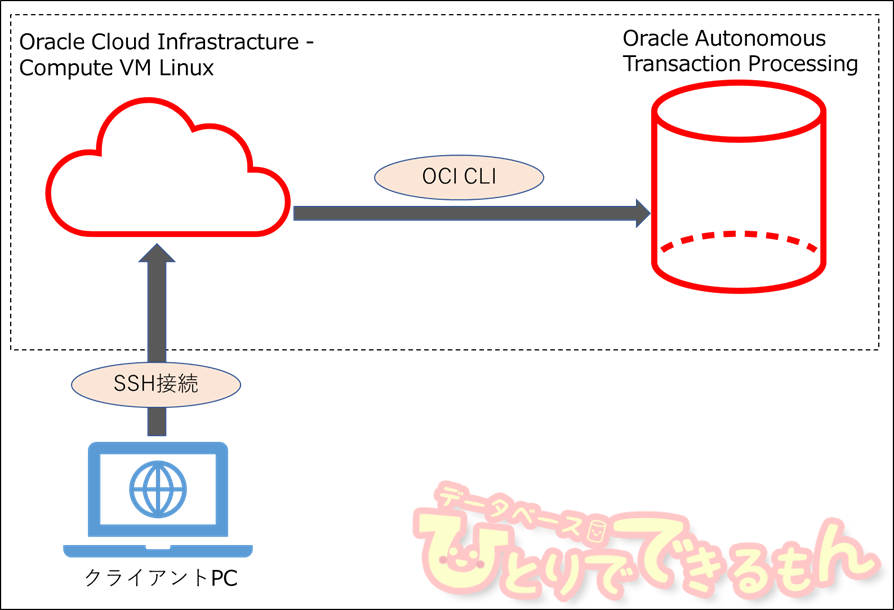
今回の検証では、以下の2つが構築済みであることを前提として進めております。
- Oracle Cloud Infrastracture – Compute VM Linux
- Autonomous Transaction Processing(以降、ATPと表記します)
早速ですが起動停止の手順を見ていきましょう。
よろしくお願いいたします!
3. OCI CLIによるAutonomous Databaseの起動停止
ATPのOCIDを確認
OCI CLIコマンドによるATPの起動停止を行う場合、ATPのOCIDが必要になります。
まずはATPのOCIDを確認していきましょう。
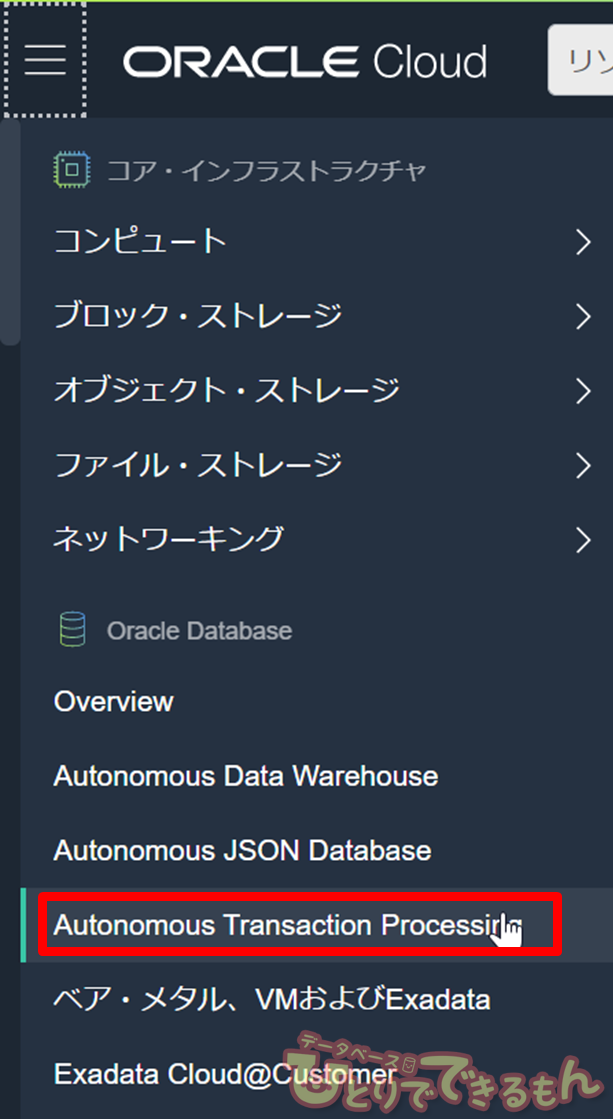
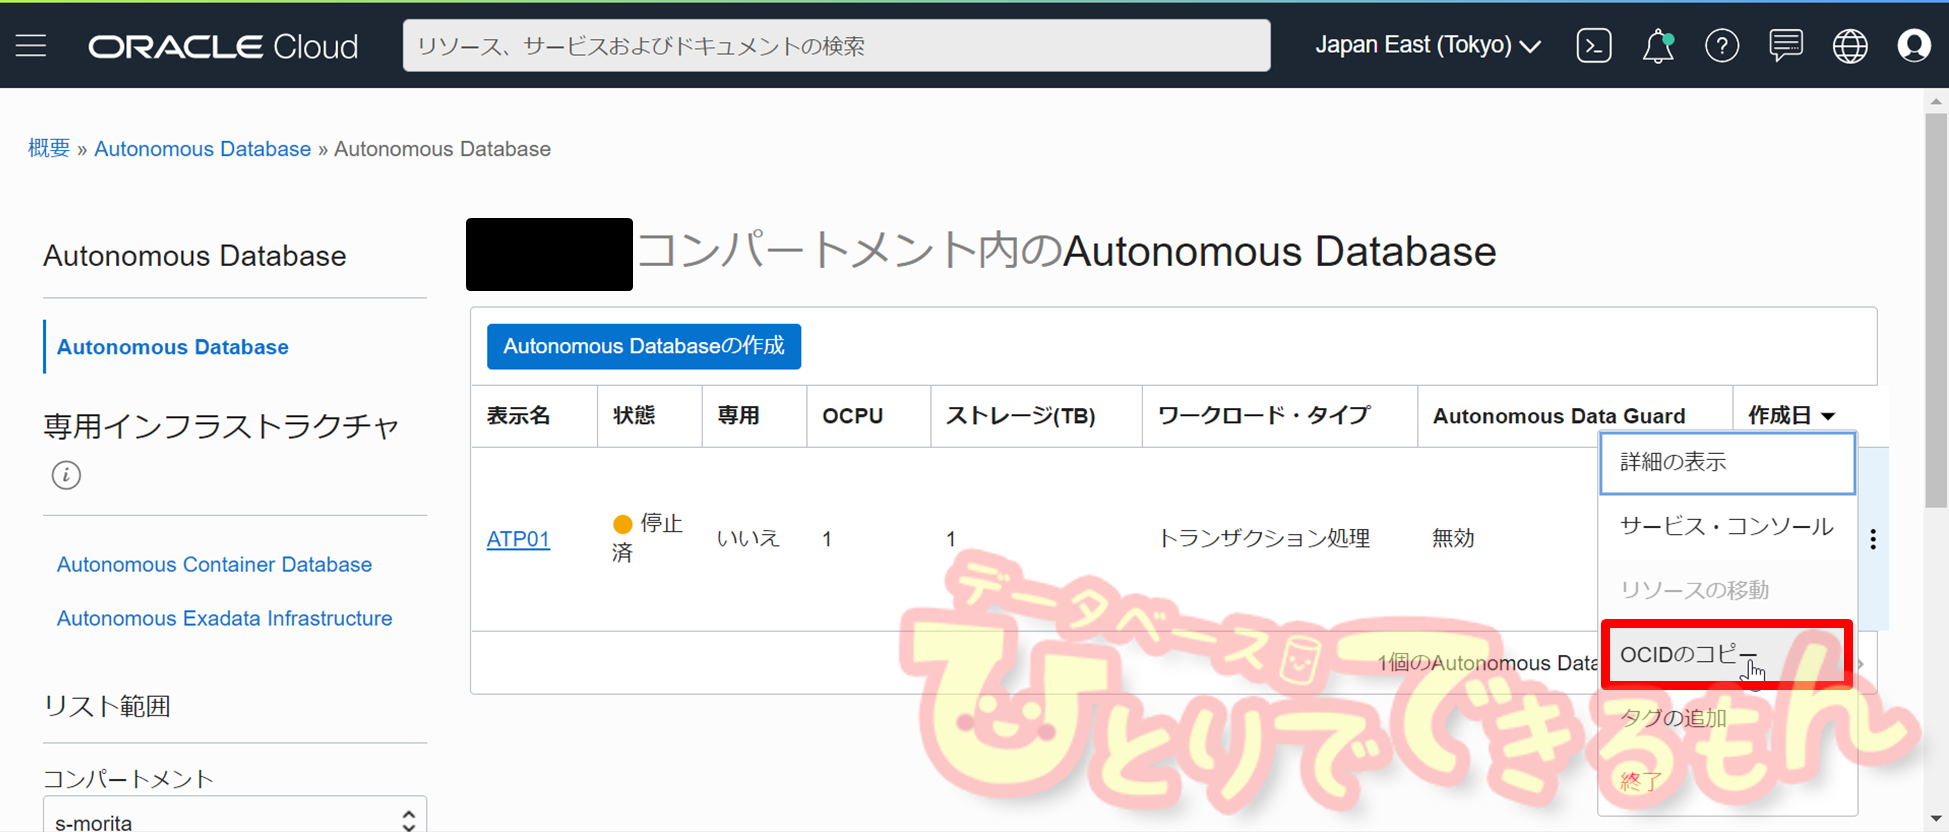
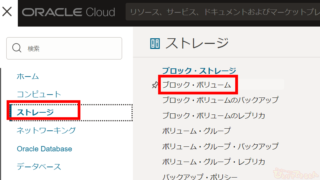
メインメニュー左上、ハンバーガーメニューから、Autonomous Transaction Processingを押下します。
対象ATPのOCIDをコピーし、メモしておきます。
OCI CLIによるATPの起動停止
それでは実際にOCI CLIを使用して、ATPを起動停止していきましょう。
前回に引き続き、TeraTerm等のソフトウェアを使用して、
Oracle Cloud Infrastracture – Compute VM Linuxに接続し、コマンドを実施していきます。
“oci db autonomous-database get”コマンドを実行し、現在のステータス確認をします。
“oci db autonomous-database get”コマンドは、対象のAutonomous Databaseに関する各種情報を取得できます。
今回は稼働状態を確認したいので、lifecycle-stateに絞って表示しています。
現在は停止状態(STOPPED)であることが確認できました。
#---稼働状態の確認
[opc@oci-instance ~]$ oci db autonomous-database get --autonomous-database-id "<ATPのOCID>" |grep lifecycle-state
    "lifecycle-state": "STOPPED"
次に起動コマンドを実行し、その後ステータス確認コマンドを実行してみます。
#---起動コマンドの実行
[opc@oci-instance ~]$ oci db autonomous-database start --autonomous-database-id "<ATPのOCID>"
(~標準出力は省略~)
[opc@oci-instance ~]$ echo $?
0

#--ステータス確認、起動処理実行中(STARTING)
[opc@oci-instance ~]$ oci db autonomous-database get --autonomous-database-id "<ATPのOCID>" |grep lifecycle-state
"lifecycle-state": "STARTING"

#--ステータス確認、起動が完了(AVAILABLE)
[opc@oci-instance ~]$ oci db autonomous-database get --autonomous-database-id "<ATPのOCID>" |grep lifecycle-state
"lifecycle-state": "AVAILABLE"
次は停止コマンドを実行します。
起動、停止コマンドに “–wait-for-state” とステータスを指定すると、指定したステータスになるまでプロンプトを返さずに待機します。
デフォルトでは、30秒間隔でステータスを確認し、1200秒後に期待のステータスになっていない場合はエラーを返します。
#---停止コマンド、ステータスがSTOPPEDになるまでプロンプトを返さずに待機
[opc@oci-instance ~]$ oci db autonomous-database stop --autonomous-database-id "<ATPのOCID>" --wait-for-state STOPPED
Action completed. Waiting until the resource has entered state: ('STOPPED',)
(~以下省略~)
[opc@oci-instance ~]$ echo $?
0

#---ステータスの確認、プロンプトが返ってきたタイミングでは既にSTOPPEDであることを確認
[opc@oci-instance ~]$ oci db autonomous-database get --autonomous-database-id "<ATPのOCID>" |grep lifecycle-state
"lifecycle-state": "STOPPED"
起動コマンドを実行します。
今度は“–max-wait-seconds”を100秒に指定します。
–max-wait-secondsは”–wait-for-state”で指定したステータスになるまで待機する上限時間(秒)です。(デフォルトは1200秒)
#---起動コマンド、AVAILABLEになるまで最大で100秒間待機する
[opc@oci-instance ~]$ oci db autonomous-database start --autonomous-database-id "<ATPのOCID>" --wait-for-state AVAILABLE --max-wait-seconds 100
Action completed. Waiting until the resource has entered state: ('AVAILABLE',)
(~以下省略~)
[opc@oci-instance ~]$ echo $?
0

#---ステータスの確認、プロンプトが返ってきたタイミングでは既にAVAILABLEであることを確認
[opc@oci-instance ~]$ oci db autonomous-database get --autonomous-database-id "<ATPのOCID>" |grep lifecycle-state
"lifecycle-state": "AVAILABLE"
停止コマンドを実行します。
今度は“–max-wait-seconds”を極端に短く設定してみます。
10秒では停止が完了せず、タイムアウトしたことが分かります。
タイムアウトした場合は”Failed to wait until the resource entered the specified state”というメッセージとともに、戻り値2が返されます。
#--- 停止コマンド、ステータスが"STOPPED"になるまで、最大10秒間待機
[opc@oci-instance ~]$ oci db autonomous-database stop --autonomous-database-id "<ATPのOCID>" --wait-for-state STOPPED --max-wait-seconds 10
Action completed. Waiting until the resource has entered state: ('STOPPED',)
Failed to wait until the resource entered the specified state. Outputting last known resource state
(~以下省略~)
[opc@oci-instance ~]$ echo $?
2
起動コマンドを実行します。
今回は、“–wait-interval-seconds”を指定します。
“–wait-interval-seconds”は”–wait-for-state”で指定したステータスになっているか否かを確認する間隔を秒数指定します。
#--- 起動コマンド、ステータスが"AVAILABLE"になるまで、20秒の間隔でステータスを確認し、最大1200秒間待機
[opc@oci-instance ~]$ oci db autonomous-database start --autonomous-database-id "<ATPのOCID>" --wait-for-state AVAILABLE --max-wait-seconds 1200 --wait-interval-seconds 20
Action completed. Waiting until the resource has entered state: ('AVAILABLE',)
(~以下省略~)
[opc@oci-instance ~]$ echo $?
0
おわりに
最後までご覧いただきありがとうございました!
OCI CLIを使用したAutonomous Databaseの起動停止はいかがでしたか?
OCI CLIを使用して起動停止をすることで、コマンド実行後の待機時間や、ステータス確認間隔を設定できる点は非常に便利ですね。
これらの設定は以下にまとめておきます。
| パラメータ | パラメータの説明 | デフォルト値 |
|---|---|---|
| –wait-for-state | 指定したステータスになるまでプロンプトを返さずに待機 | なし |
| –max-wait-seconds | –wait-for-stateで指定したステータスになるまで待機する最大秒数を指定 | 1200(秒) |
| –wait-interval-seconds | –wait-for-stateで指定したステータスになっているか否かを確認する秒間隔を指定 | 30(秒) |
OCI CLIによるAutonomous Databaseの起動停止コマンドをスクリプト化することで、Autonomous Databaseの起動停止スケジューリングなどにも活用できそうです!
OCI CLIについては、以下のマニュアルもご参照ください。
https://docs.oracle.com/en-us/iaas/tools/oci-cli/2.22.0/oci_cli_docs/cmdref/db.html
最後までご覧いただきありがとうございました!

投稿者プロフィール

 Oracle Cloud2024年4月18日OCI ブロック・ボリュームをクローニングしてみよう!
 Dbvisit Standby2024年3月29日【Dbvisit Standby】Dbvisit Software Limited 様と対談致しました 第4弾 世界の面白ウェビナー、新しいお客様達へ
- Dbvisit Standby2024年3月21日【Dbvisit Standby】Dbvisit Software Limited 様と対談致しました 第3弾 グローバルスタンダードなDbvisit StandbyMP(最大規模のデータベース)
- Dbvisit Standby2024年3月12日【Dbvisit Standby】Dbvisit Software Limited 様と対談致しました 第2弾 FSDRの魅力 と FSDRにDbvisit Standbyがエントリーされます


![[Oracle Cloud] Oracle Linux 8 の日本向け設定](https://xn--w8j8bac3czf5bl7e.com/wp-content/uploads/blog/dnf-yumcommand-150x150.png)